Here at StyleChicks, we love long, flowing hair. Courtney’s hair is long past her waist, and mine (Lyn) is almost to my waist. My hair is porous, colored, and I use hot styling tools, so it takes a great deal of deep conditioning to keep my hair in good shape.
CONDITIONING LONG HAIR WITH TRADITIONAL CONDITIONING CAPS
One of the best ways to deep condition hair is using a conditioning cap with a hot oil treatment or a liquid consistency conditioning treatment. This keeps the wet conditioner from seeping down onto the forehead and neck, as well as allows the heat from your head to maximize the treatment factor of the conditioner. Most look like cheap one-time use shower caps like you might get with your complimentary toiletries in a hotel. The problem with these conditioning caps is they can’t accommodate very long, thick, full, curly or unruly hair. Sometimes we end up using multiple caps together to completely cover the hair, and this still leaves gaps that let the heat escape, and at times, they still get messy and soggy because conditioning product can leak out.
HYDRACAP CONDITIONING CAPS
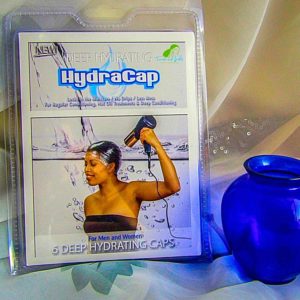
HydraCap Conditioning Caps
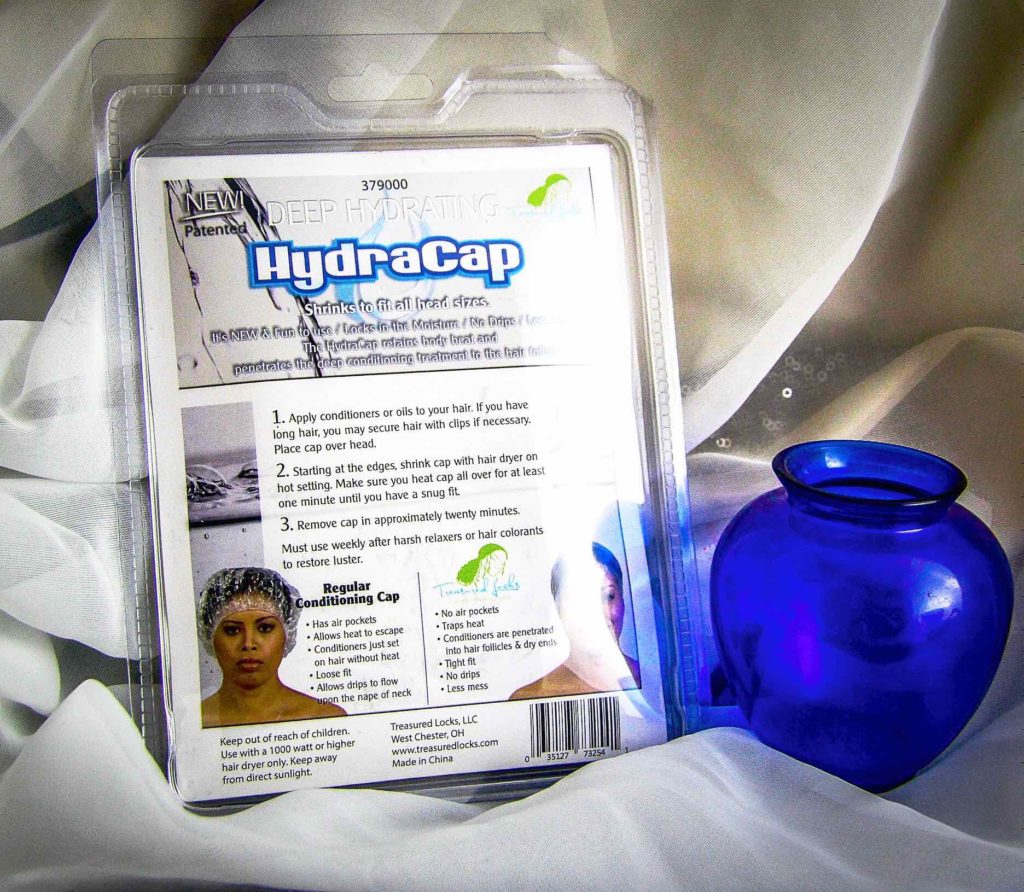
When we heard about Hydracap hair conditioning caps, we were excited to try them. The premise is it is a larger plastic cap but not with an elastic band. After securing on your head with your hair tucked in, you heat the cap with your blowdryer, and it sort of shrink-wraps onto your head and completely ensconces your hair in about a minute. This cap is much more secure than a traditional conditioning cap. The heat from the blowdryer stays within the cap to maximize the conditioning treatment, and the hot air from the hair dryer creates moist, hydrating heat within the cap.
HOW TO USE HYDRACAP
First I apply my hair conditioner, either oil or a creamy conditioner. For oils, I like Jojoba, Safflower, Grapeseed, or a combination. When my hair is really dry or damaged, I apply an oil, leave it on for an hour or so, and then apply a cream conditioner. I also like using HydraCap when I apply Coconut Oil as a conditioning treatment, as the contained heat helps completely melt the Coconut Oil without allowing it to get runny.
Another way I use the Hydracaps is for creamy conditioning masques such as the Kerastase Hair Treatments and Oribe Hair Masques, which when combined with heat, are so extraordinarily effective to make hair soft and shiny.
When I use the cap after applying the Coconut Oil, I leave it on my hair for about an hour, and for hot oils and hair conditioning masques, generally about 30 minutes. Both the oils and the conditioners stay put in the cap and saturate better with the moist heat of the cap.
HydraCap Conditioning Caps
It helps if you have a friend assist you the first time, but you can do this by yourself with a little practice. To apply the HydraCap, wrap your hair around your head so it will fit under the cap and place the cap over your head. The cap will be too large, so wrap and tuck it around your head, shape it close to the head as you aim your hairdryer at the cap. To hold longer hair, I scoop it up from the back of the cap and pull the front of the cap up, grasping the excess and wrapping it around as it starts to take shape until the cap is securely fit to my head. Start blow-drying on the bottom of the cap, gathering extra as you go and wrapping it, and move towards the top of your head until it is secured. Wait about 20 minutes, and remove the cap. Wash hair as usual.
Size of Hydracap vs regular elastic conditioning cap
RESULTS: There was no dripping conditioner, and my hair stayed warm for the 20 minutes, keeping my conditioner warm enough to deeply condition my hair and make it especially soft and hydrated. I could sit and watch TV or walk around the house without worrying about dripping conditioner or oil. It is also a nice treat to have conditioning hair up in a secure cap while taking a bath.
What I also prefer about the HydraCap to plug-in conditioning caps is the HydraCap is lightweight on the head, and I am not tethered to sitting in one place while conditioning my hair. Plug-in caps also generally only produce dry heat, which is less effective and can even break down conditioners.
CONCLUSION: Since we got the HydraCaps, it is much easier to schedule time each week to deep condition my hair, because I don’t have to stay put worrying about hair conditioner dripping all over the place, and it only takes 20 minutes or less since the cap retains the heat. If you are using Coconut Oil to condition your hair, using the HydraCap helps the Coconut Oil completely melt and stay put on the hair while conditioning. The caps come in a pack of six and are a worthwhile low-cost investment, especially if you are conditioning your hair before or after coloring or other chemical treatments. If you are conditioning your hair regularly in preparation for a special event, such as a wedding or a big hair color transformation, using HydraCaps weekly maximizes for hydrating and conditioning efforts.
Find the HydraCap at Treasured Locks.
[embedyt] http://www.youtube.com/watch?v=gh1JNJw6Q28[/embedyt]
I received this product in exchange for my unbiased review and received compensation for my time and effort. However, my experience with the product and the opinions expressed in this review are 100% mine.